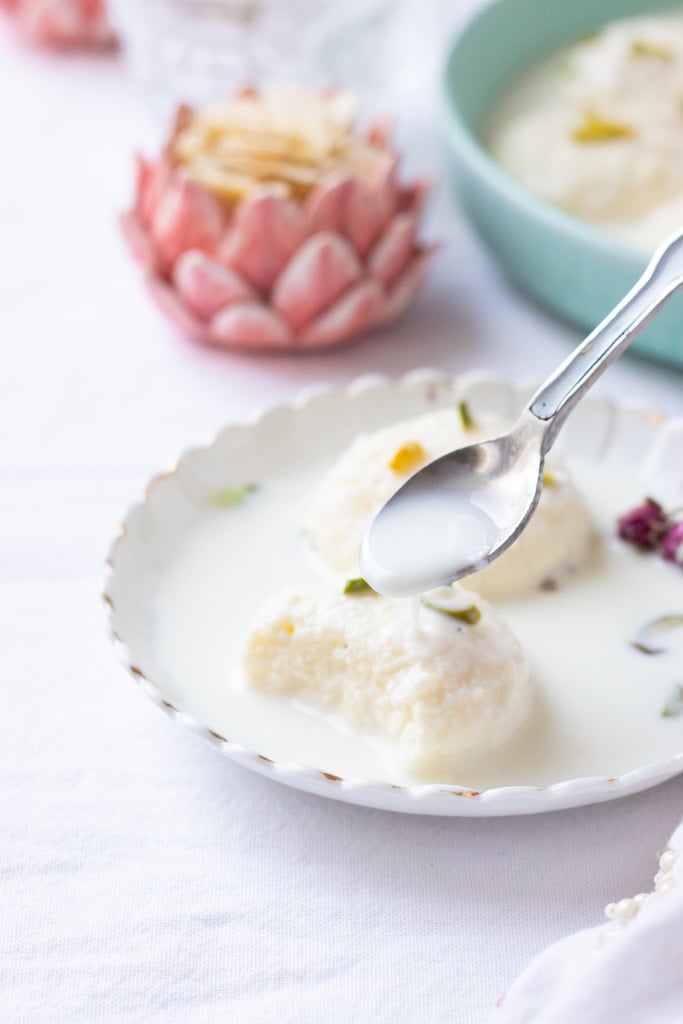
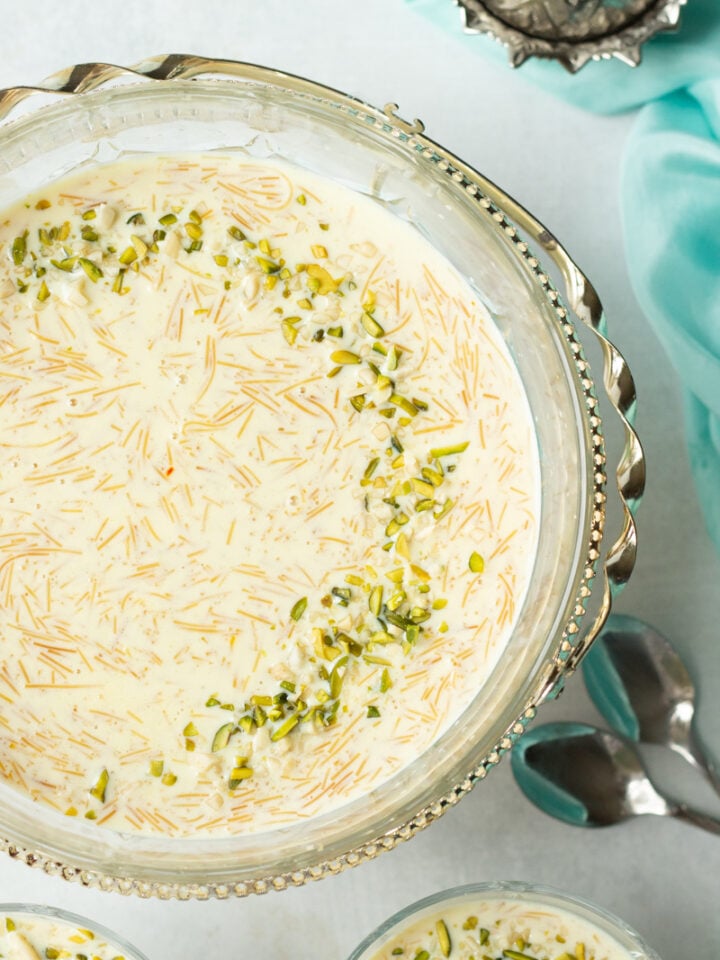
This Rasmalai Recipe takes less than 20 minutes of prep and creates an airy tender sponge that absorbs the beautiful flavours of sweet cardamom scented milk. Keep reading for my tips for making soft rasmalai that doesn't break!
🔍 Quick Look: Rasmalai Recipe
- ⏱️ Prep Time: 10 minutes
- 🍳 Cook Time: 10 minutes
- 👥 Servings: 6
- 🔥 Cook Method: Stovetop
- ⭐ Difficulty: Easy
- Key to Success: Work quickly!
"I made this recipe as is and it was fantastic! It was my first time making rasmalai but considering how easy it was, I will definitely make it again." - Rooh
Jump to:
What is Rasmalai?
The word Ras means juice and Malai means cream. You put the two together and it invokes something far more poetic than it's literal English translation. Rasmalai is a dessert popular across Pakistan, India, and Bangladesh where discs of a homemade fresh cheese called "chhena" are formed into discs and simmered in sweetened cardamom scented milk.
The flavourings of milk can vary a great deal, but the two things all good rasmalais have in common is a tender sponge and a soaking milk that is both light and flavorful.
4 Reasons to Make this Rasmalai
1.) Homemade Rasmalai is a bit of a flex you know? Like "oh this, I made it" casually dropped somehow never fails to impress. Now, because we don't have endless time and love a good hack, like with this Instant Pot Kheer, this Rasmalai recipe uses milk powder instead of chhena and trust me, no one is going to know the difference!
2.) It has been well tested by my mother and her peers before my testing even began and well loved since! Ammi approved recipes are always the best!
3.) Where other recipes gave a 'peda' or a disc that is dense, these are delightfully airy and the milk mix is lovely and light just like a great mithai wala (or my mother!)
4.) The ingredient quantities just make sense - they make both the cooking and the eating easier by using a whole egg and an appropriate amount of sweetened milk!
Key to Success
While making Rasmalai from scratch requires finesses, after trying many many iterations of the milk powder (Nido) recipes, I have concluded that Milk Powder Ras Malai requires almost the opposite.
Milk powder Rasmalai requires what we in Urdu call "phurti", that means to do everything quickly, but with a light touch, more a breeze than a hurricane.
Confused? Let me explain: there is no real art here, no tweaking or adjusting like with Meethi Tikiyaan, you just do the work and do it fast for the best results.
Ingredients
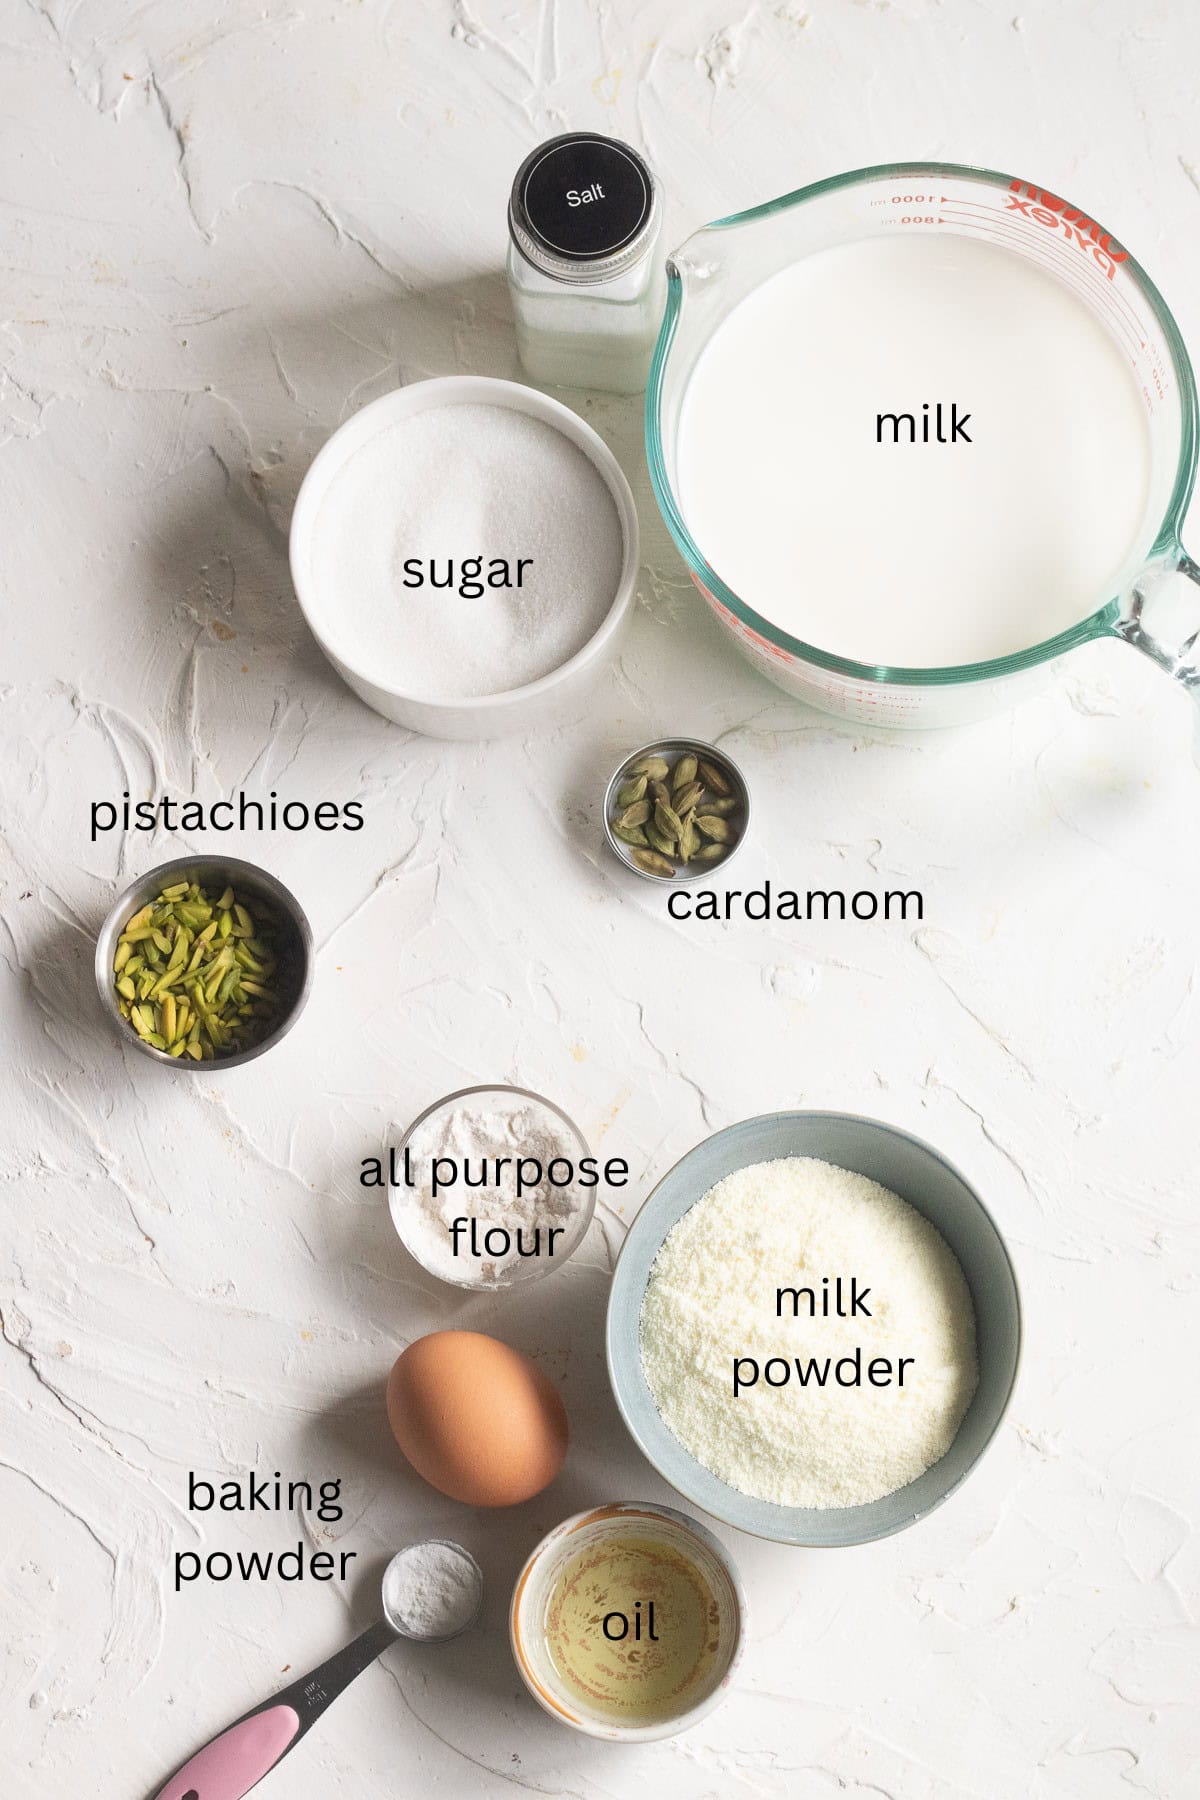
Milk powder: I have tried this recipe with fat free milk powder and regular milk powder and for both texture and flavour a regular full fat milk powder like Nido or the ones available at Costco win. Please steer away from dairy creamers like Everyday.
Egg: This recipe, somewhat unusually, uses the whole egg to bind the peda, where most recipes use 3 tbsp of an egg which I find to be a little wasteful and unnecessary.
Milk: WHOLE milk please! You can sub some of it out with cream for richness, but walk away from low fat milk. You will note the quantity of milk here is lower than some recipes, but in my experience people tend to take two pieces of ras malai and a little milk and while the leftover milk is drinkably good, let's not have extra.
Salt: yes, I know it's unusual, but TRUST me that you need it for balance!
Five Tips for PERFECT Rasmalai
1.) Use a wide bottomed pan: ras malai needs space to cook, to expand, a wide bottomed pan is what is best. I use a 10-inch skillet.
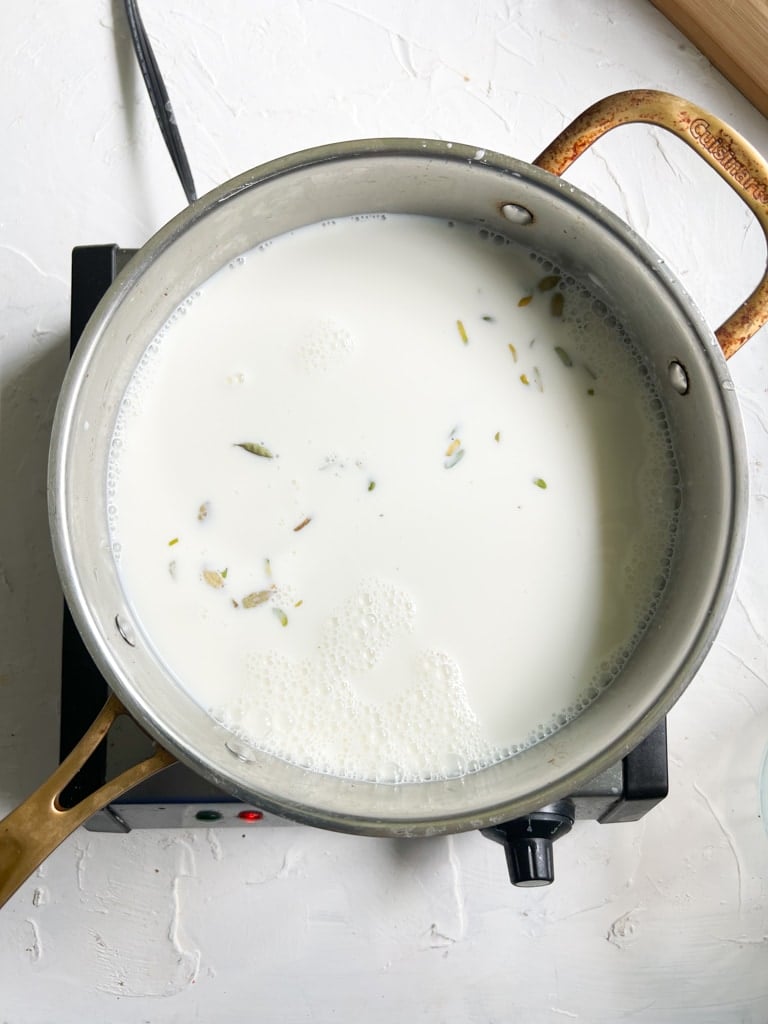
2.) Bring the milk to a boil first to dissolve the sugar, then turn down to a low simmer. Don't even look at the Nido jar until you're at this point.
3.) When the milk is simmering then start making your dough. To get smooth balls it is imperative that the mixture be quickly mixed, quickly shaped, and quickly dropped (this is some "phurti" in action. If you wait too long the mixture tends to dry out and your dough becomes hard and cracks.
4.) I have tried cooking with various temperatures, but the safest approach is a gentle simmer. A robust boil can lead to the outside cooking and the inside staying hard, simmer-less milk won't cook it.
5.) DO NOT touch the dough balls until they're soft and rise to the surface of the pan, it is then and ONLY then that you can flip them.
How to make Rasmalai with Milk Powder: Step by Step
- Combine milk mixture ingredients and simmer to thicken before starting on your 'pedas'
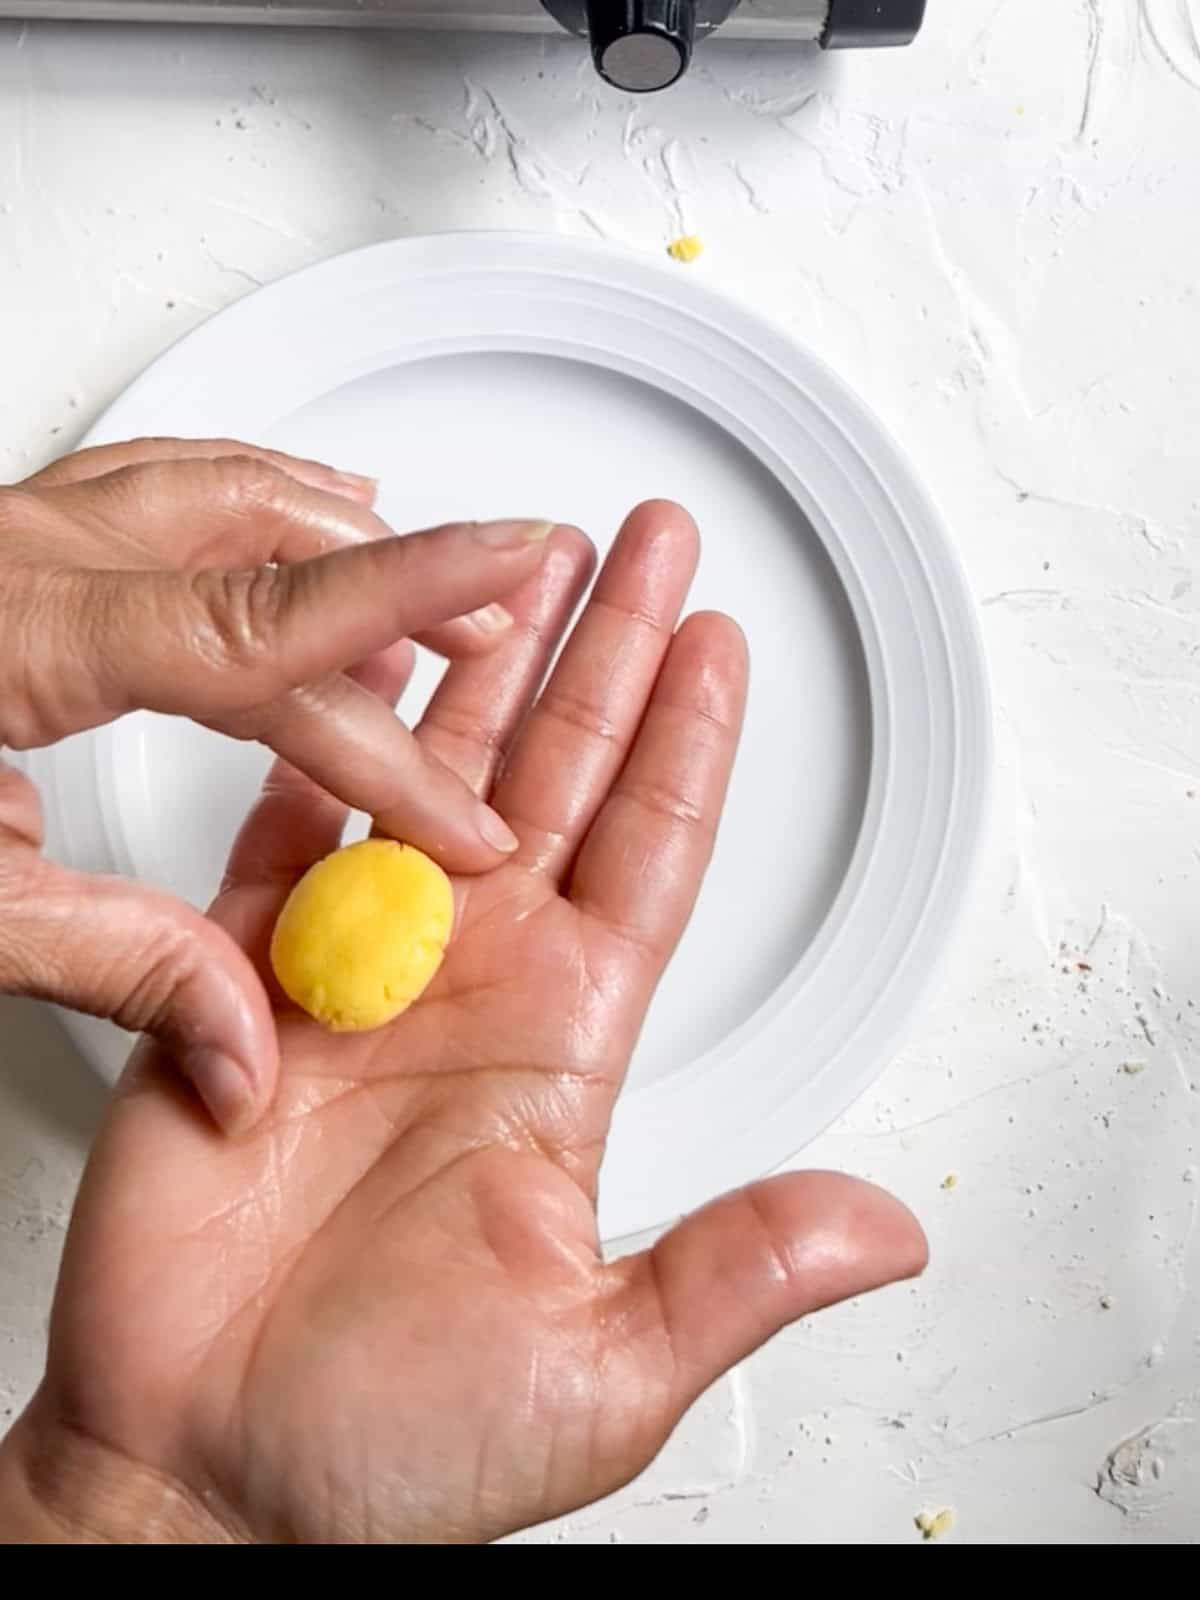
- Quickly knead the dough and form into 1-1 ¼ inch balls. They will double as they cook!
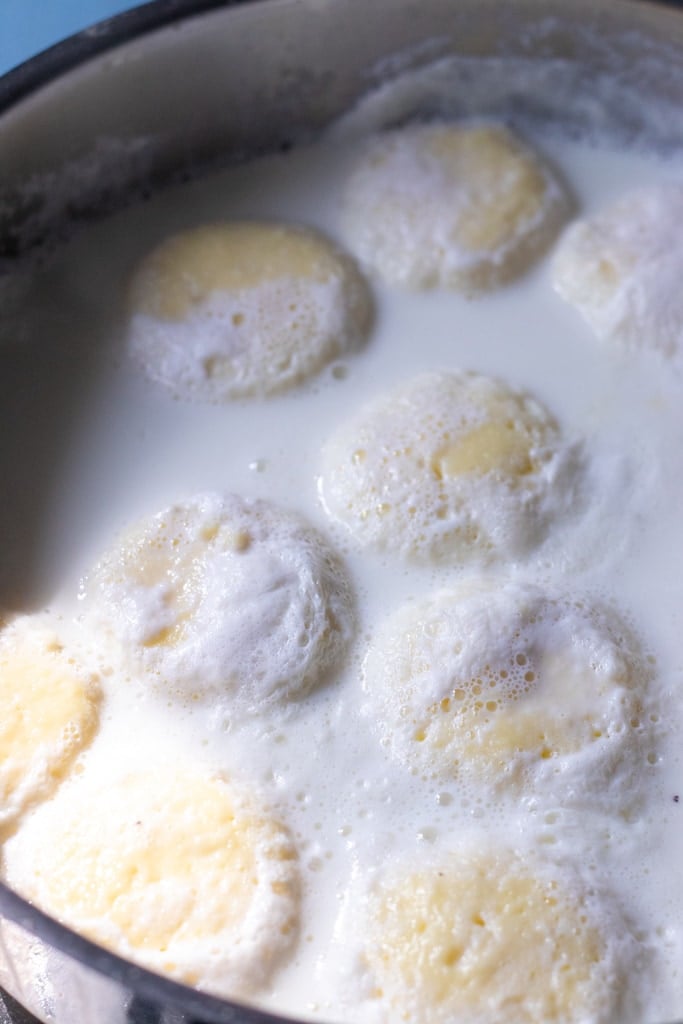
- Add your dough balls into the milk, let simmer undisturbed for 5 minutes
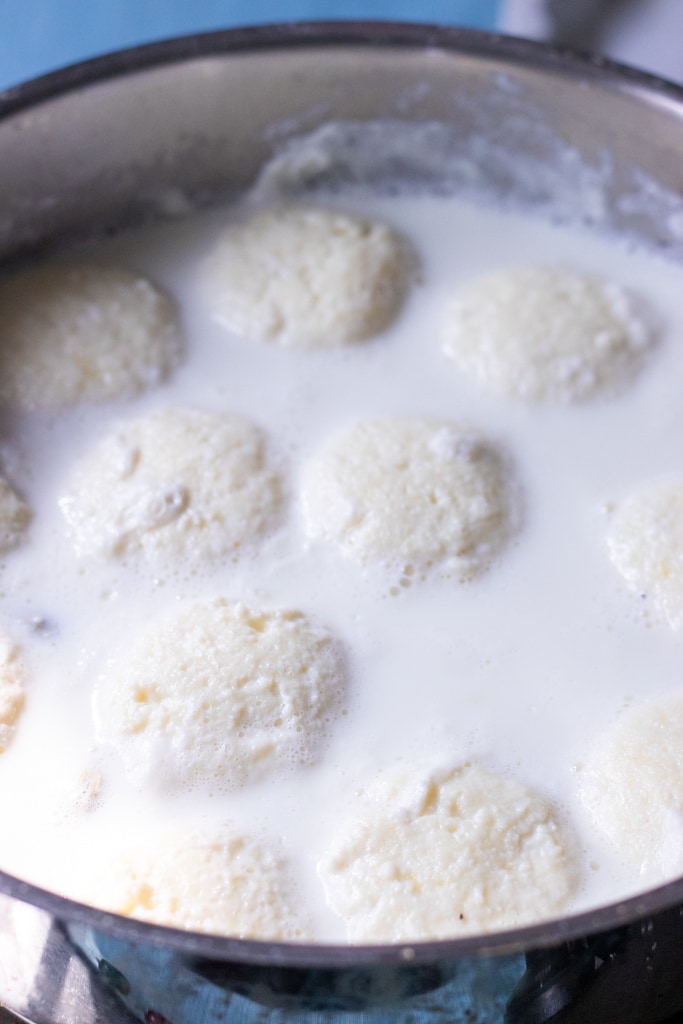
- Gently flip them and simmer for another and turn the stove off.
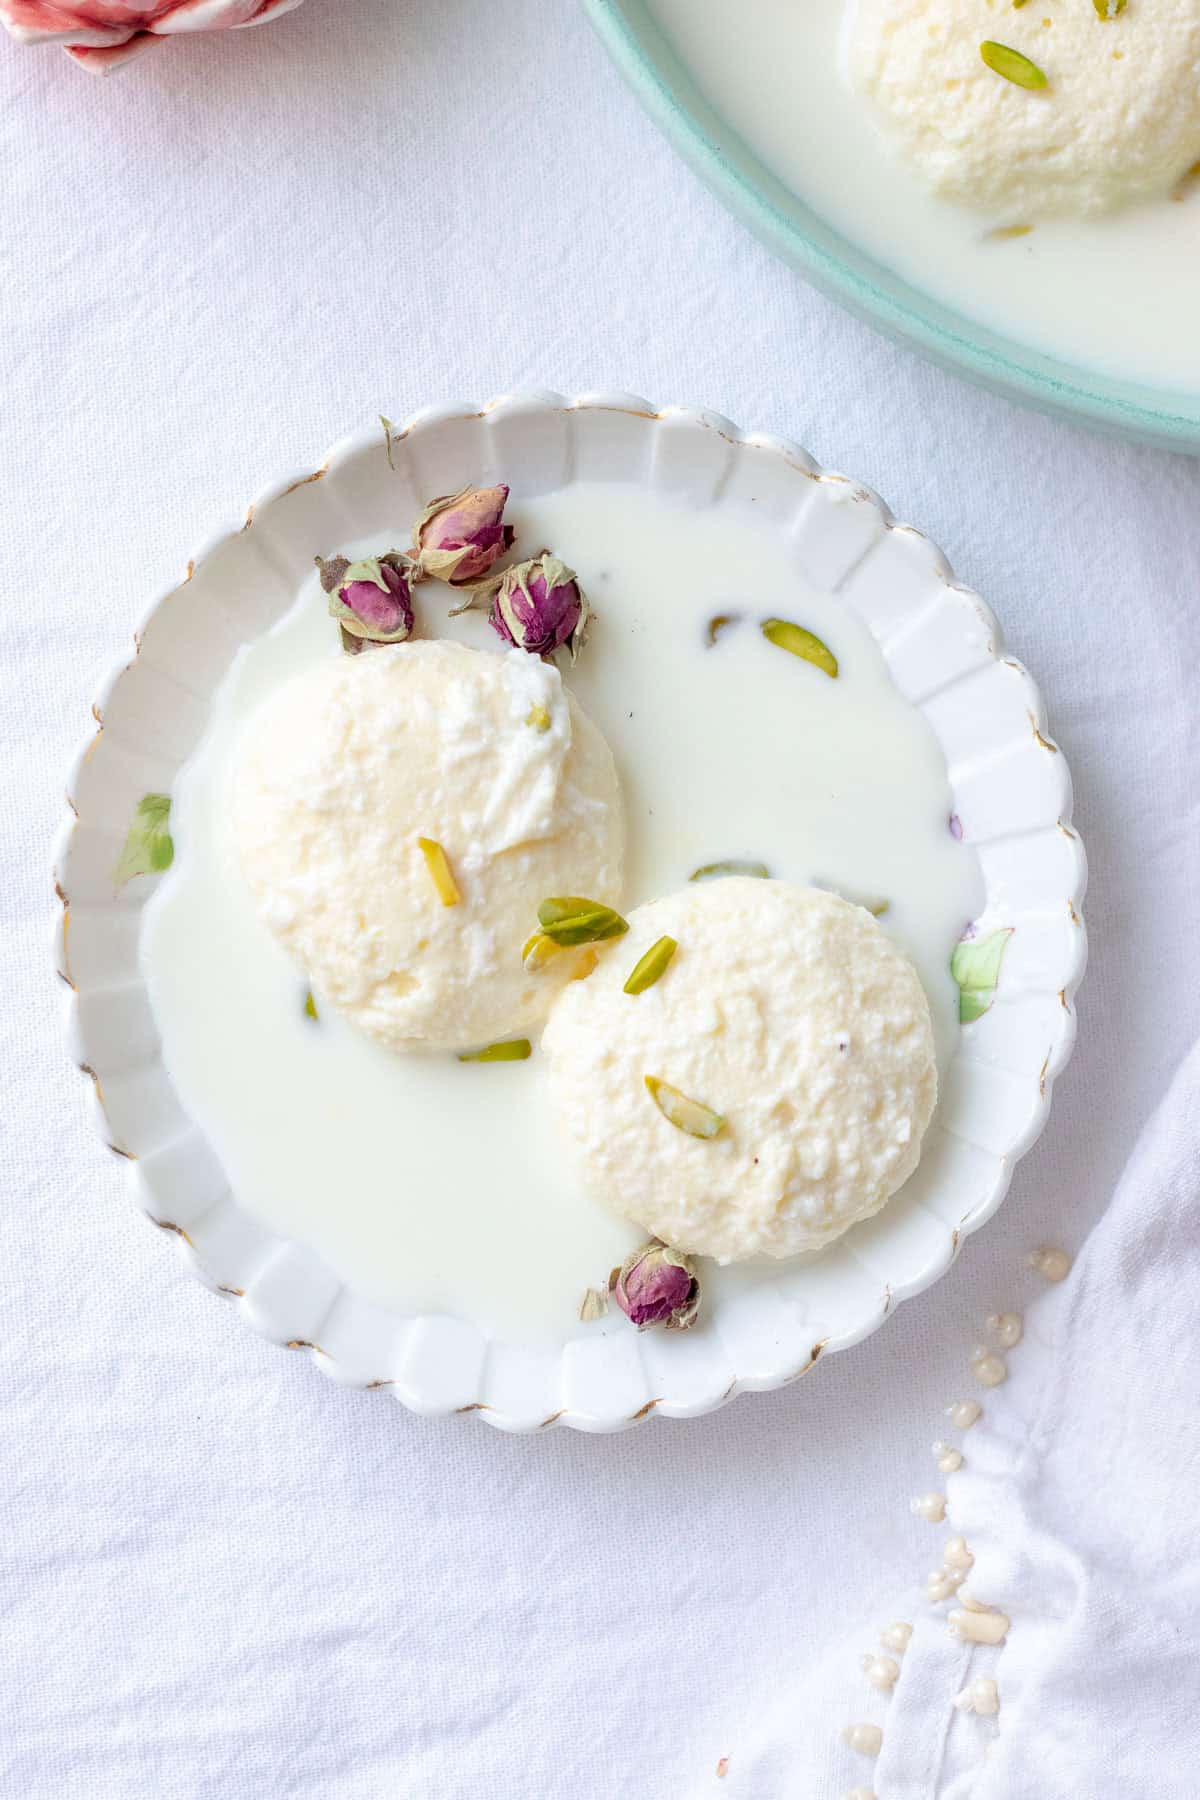
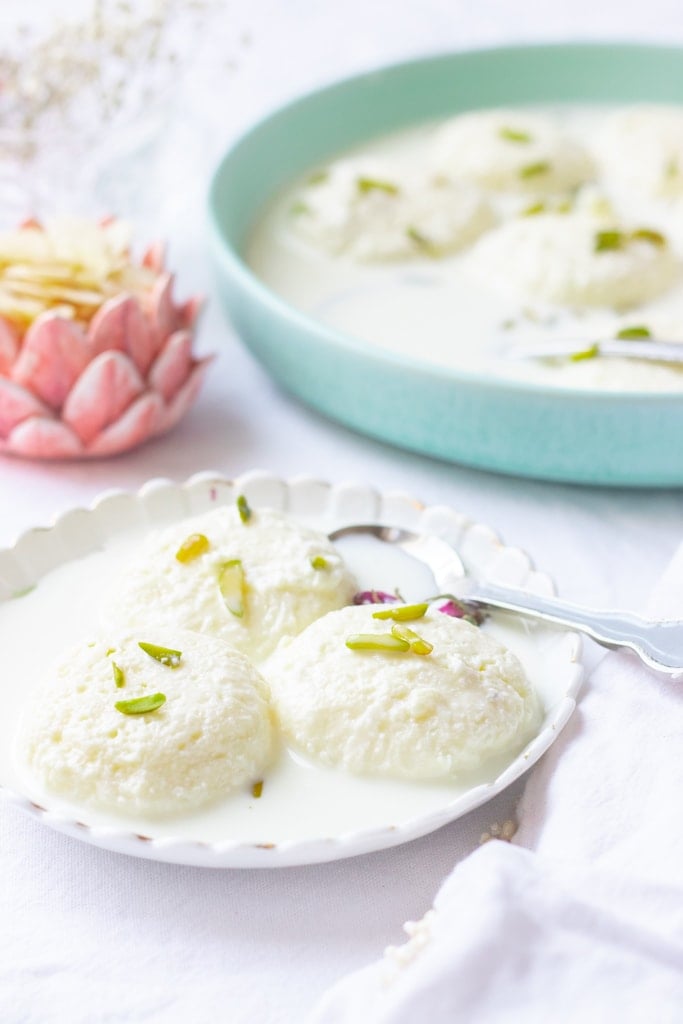
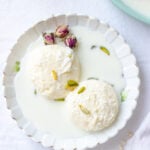
Warm rasmalai is decidedly unpleasant so please let it cool to room temp and then refrigerate for 2-4 hours before garnishing and eating!
Once they cool then you can transfer them one by one into your dish of choice and refrigerate. Ras Malai tastes infinitely better the next day IMHO as the mix cools and any residual egginess goes away.
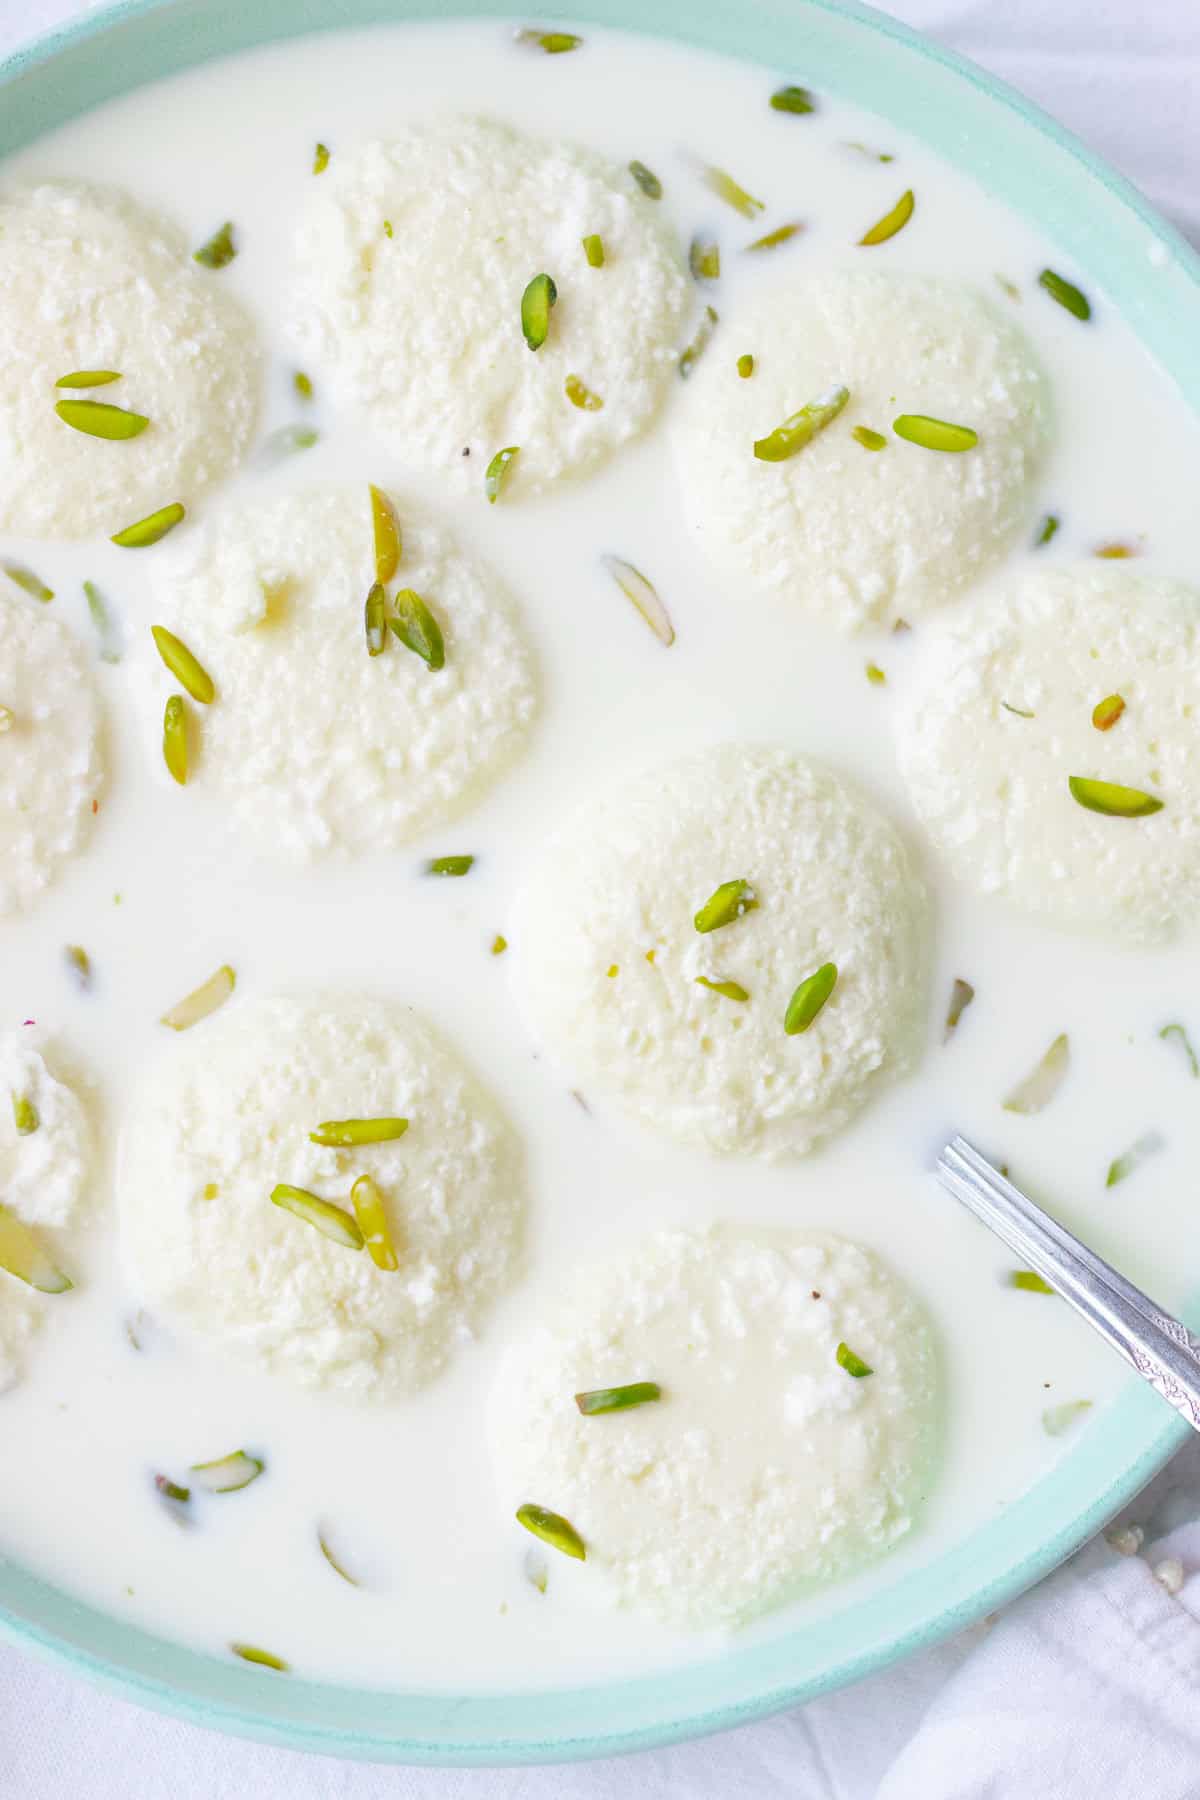
What I think of as "freezer" or grocery store ras malai tends to have a thicker milk base - this Ras malai is more like a 'mithai wala' or homestyle and has thinner whiter milk. You can always cook your milk down or add a little cream to thicken the base.
Ras Malai FAQs & Troubleshooting
Your milk may not be at a gentle simmer or the pedas not well formed / tightly compacted. If your dough feels dry then add in a drop or two of oil, re knead and resume.
Condensed milk has a depth and distinct flavour that I lean on recipes like these hugely popular Sevaiyan, but I don't love in rasmalai and I don't recommend it.
Yes absolutely. The two things to watch for are: 1.) you will need a larger pot to give the rasmalai space to cook and 2.) keep the dough covered with a damp washcloth as you work.
Yes absolutely. You can make this two days before serving. Store the rasmalai in the fridge in a container with a lid.
Yes, but if you want to freeze it I would recommend not freezing for more than 3 months and making sure the box is well sealed. A little layer of plastic wrap on the top would also help prevent icicles forming. Just let it defrost in the fridge before serving.
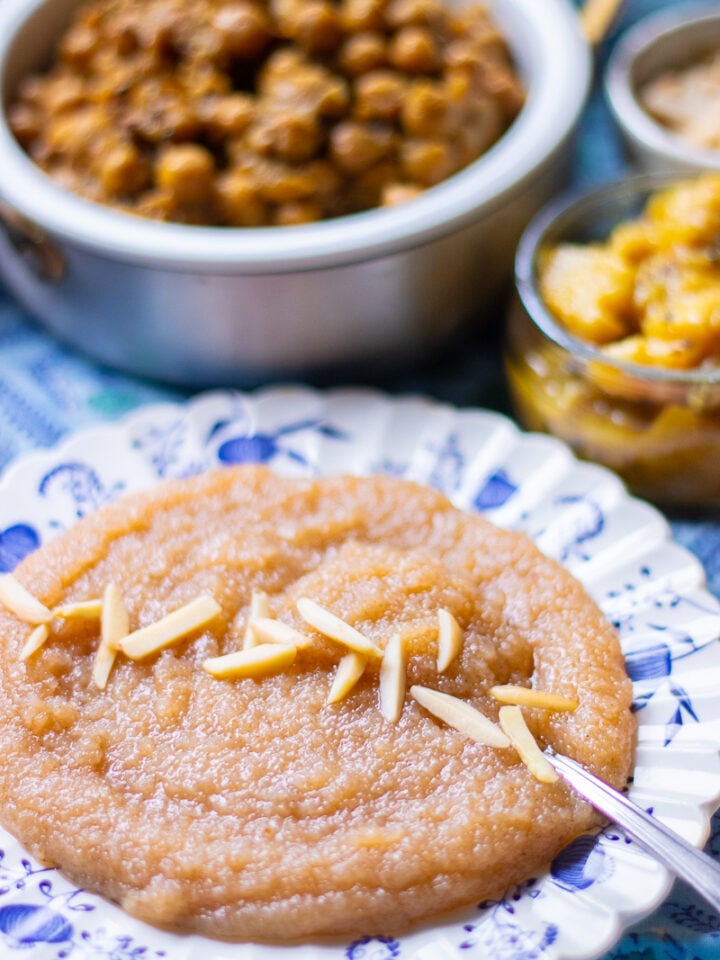
Other Pakistani Desserts to Try
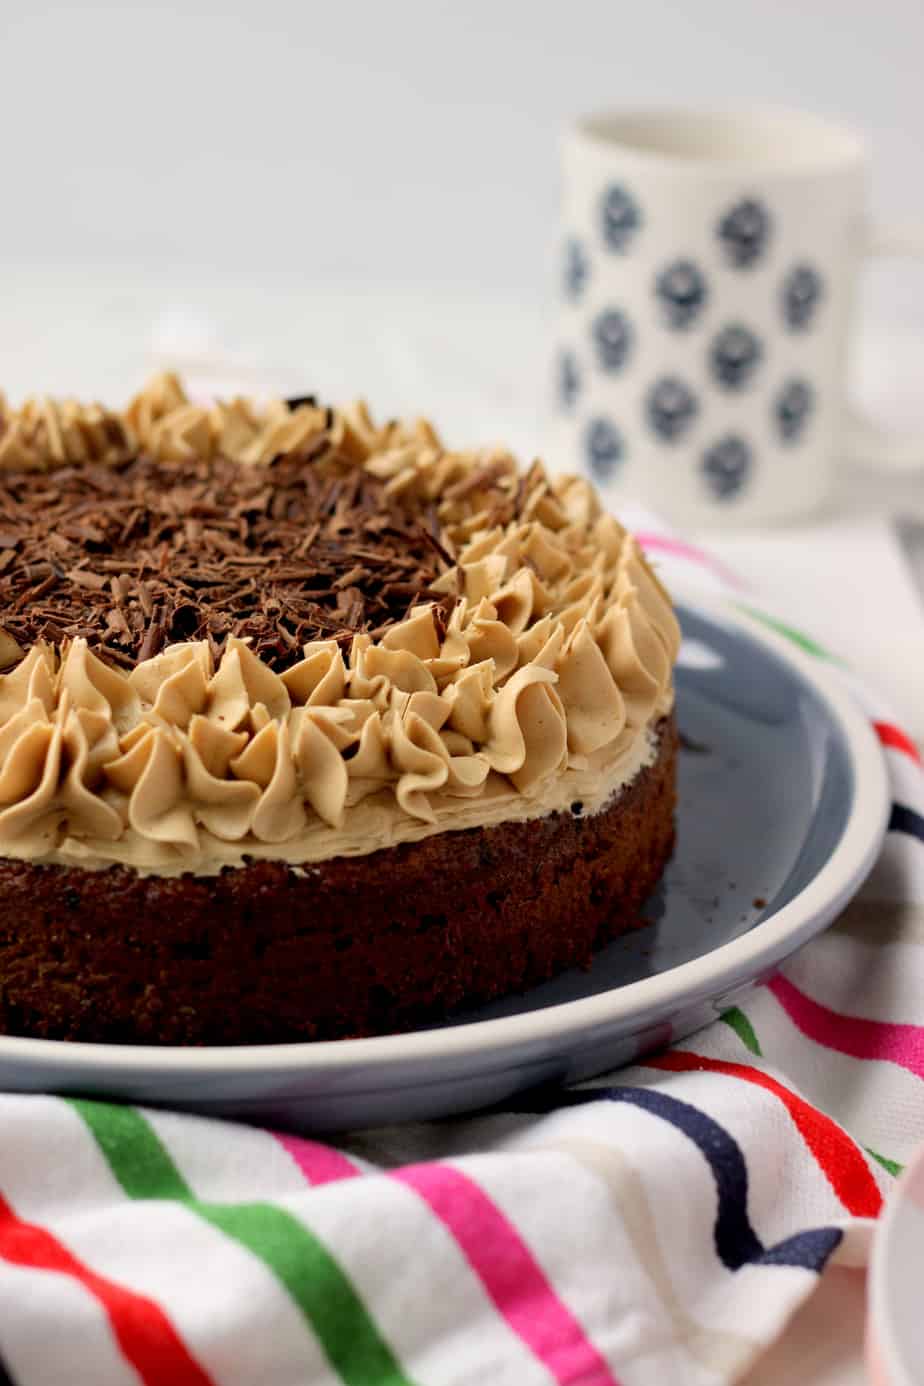
- Coffee Cake a la Bombay Bakery
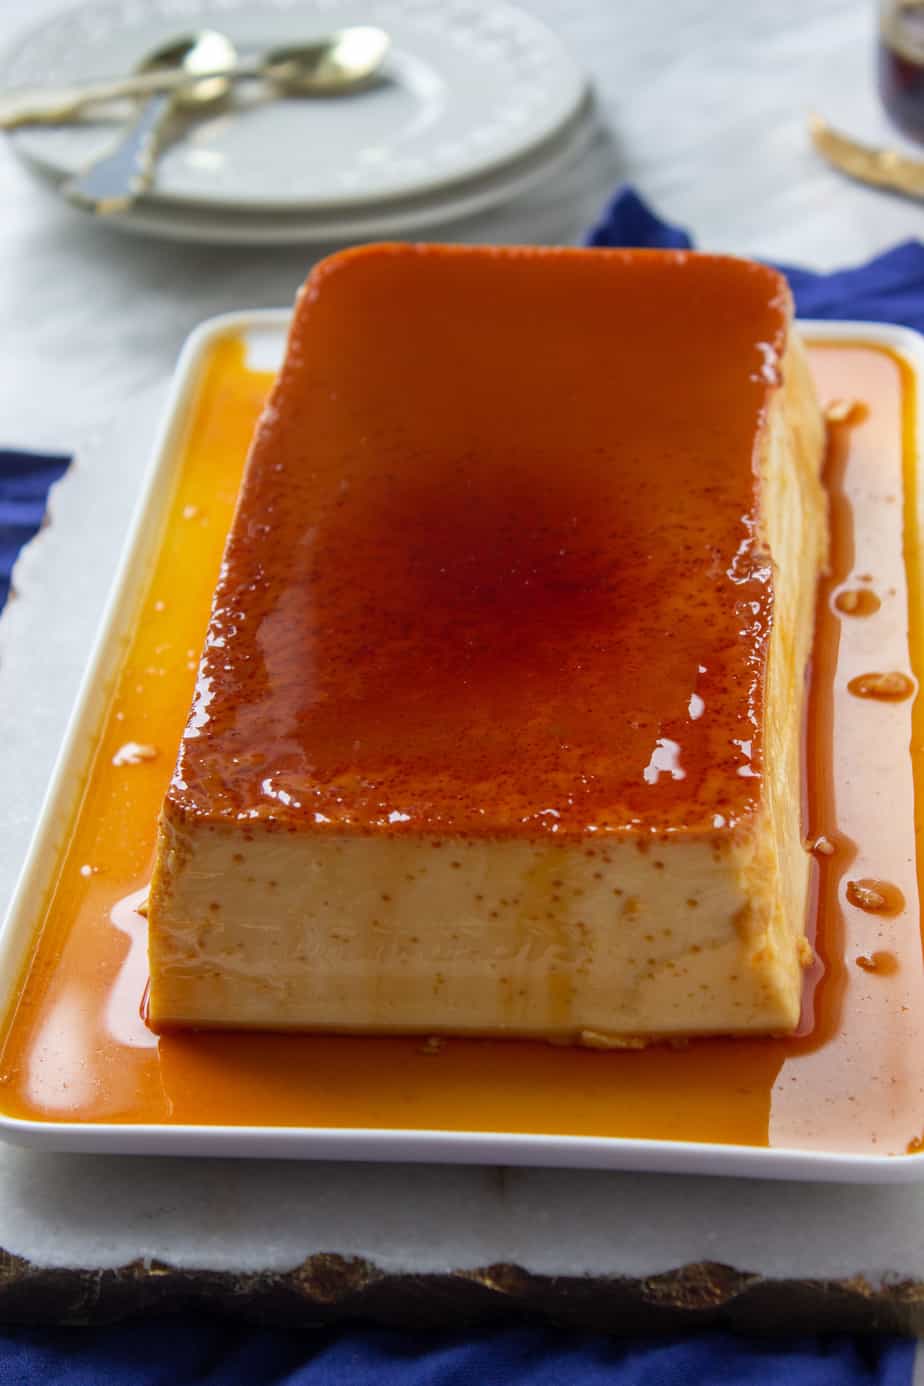
- Velvety Caramel Custard
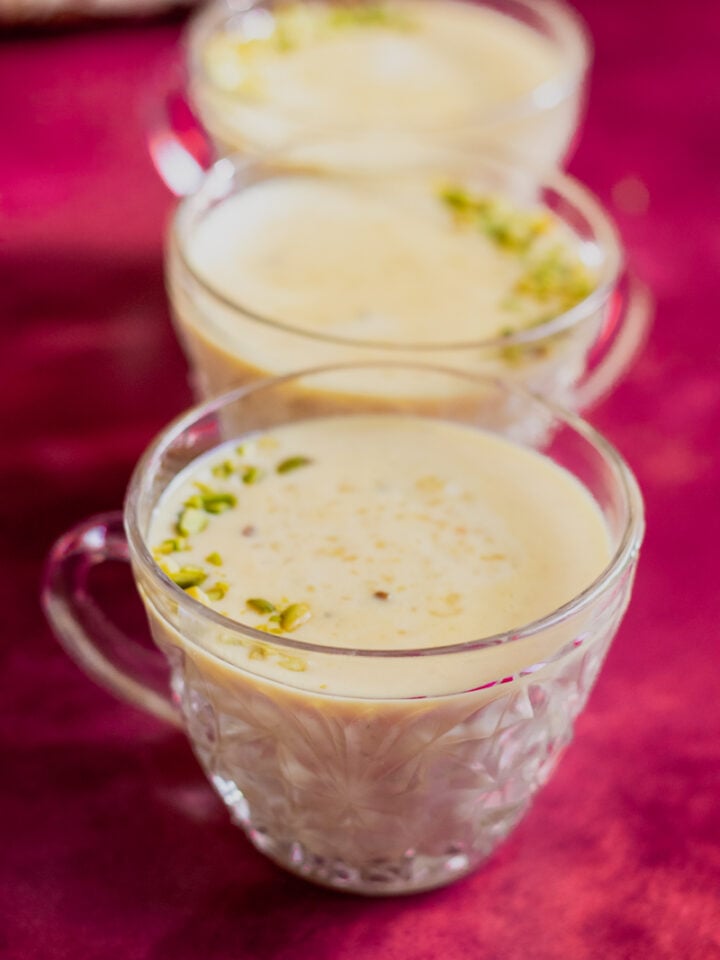
- Quick & Extra-Creamy Instant Pot Kheer
- Quick Homemade Seviyan / Sheer Khurma (Pakistani Style)
Making this Rasmalai? Don't forget to read my tips above! Made it already? Leave a rating and comment! Would love to hear your thoughts and see your recreations on Instagram @flourandspiceblog
Soft 20 Minute Rasmalai - Milk Powder
Equipment
- saute pan or braiser
Ingredients
Milk Mixture
- 3-3.5 cups whole milk (see note)
- ⅓ cup sugar (70g)
- ⅛ tsp salt
- 5-6 cardamom pods
- 1 tbsp slivered pistachios
Rasmalai "pedas" or dough
- 1 cup full fat milk powder 100g
- ¾ tsp baking powder
- 1 ½ tsp all purpose flour
- 2 tsp vegetable oil
- 1 beaten egg (large, 56g)
Instructions
Milk Mixture
- Combine the first four ingredients in a wide bottomed pan and bring to a boil.
- Turn the heat down, and mix well, ensuring the sugar is dissolved.
- Once the sugar dissolves turn the heat low to maintain the gentlest simmer.Note: If you like a thicker milk in your rasmalai then use 3.5 cups of milk and cook on medium heat for 5-8 minutes to thicken the mix before turning it down.
- Add the slivered pistachios.
Rasmalai Dough
- Mix the milk powder, flour, and baking powder well, followed by the oil and then the egg. This works best by hand. Your dough will be soft and slightly sticky, but as the ingredients incorporate in it'll become drier.
- QUICKLY shape into 10-12 balls, they'll be about an inch or so big. Flatten the dough and drop into the milk, continue doing so until your dough is used up. (My preferred technique is to squish each piece I break to make it compact and then roll it smooth between my hands. )
- Once all your dough balls are made and in the pan on that gentlest of gentle simmers, cover the pan and let them cook undisturbed for 5 minutes.
- After 5 minutes, carefully flip each ras malai, and then continue cooking for another 5 minutes and then turn the stove off and let them cool before transferring them to a box/dish.
- Leave in the fridge for at least 2 hours or overnight for best results, garnish with additional pistachios and serve.
Mo says
Mine were hard in the middle. What can I do to stop this next time?
Sarah Mir says
oh no! I am so so sorry to hear that, that suggest to me one of two things - that it wasn't cooked through in which case a few minutes more of a simmer would solve it or your baking powder was old which is less likely!
Sadaf Asghar says
Hi Sarah,
I tried this for a small gathering and I love how easy and quick they were and turned out so yummy!
I did face a couple of issues though..
My peras puffed up nicely and we're super soft when they were warm, but as they cooled down, they lost their puffiness and became a little hard. Any idea what i did wrong? My milk was simmering gently throughout the 10 minute cook time.
Sarah Mir says
Hi Sadaf! I am glad to hear they were a hit, but the hard bit is a bit disappointing, someone else mentioned this too so let me try and troubleshoot it and get back to you!