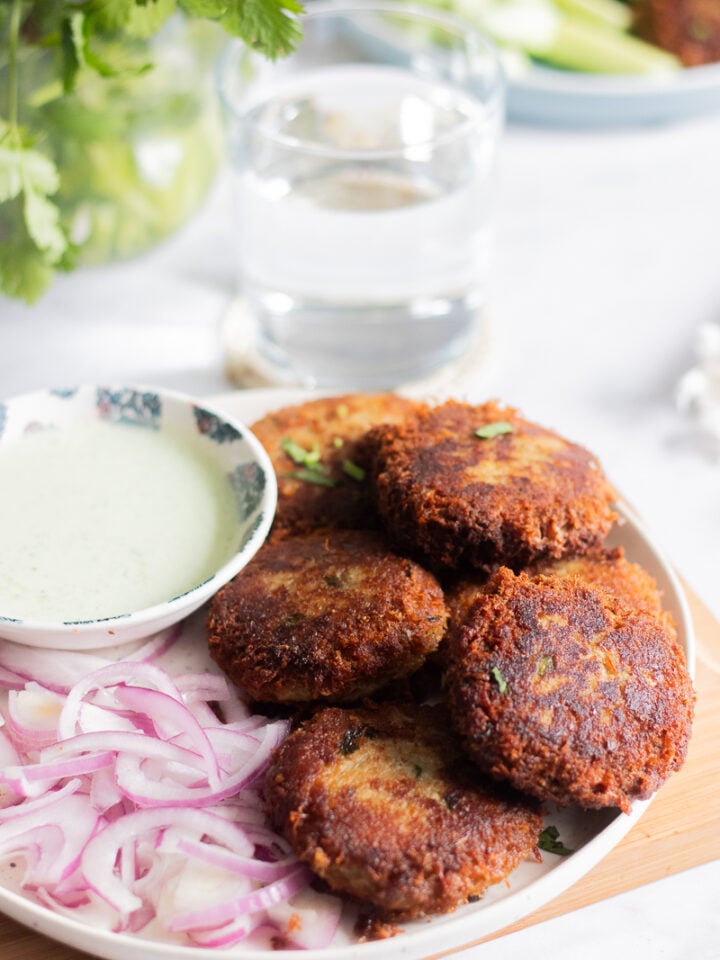
Your favorite deeply comforting authentic well balanced chicken curry made easier (and faster), a must know for every Pakistani cook!
I write Chicken ka Salan here (because well, Google), but my heart always calls it Murghi ka Salan. I make some version of it weekly and that is part of the reason why this iteration is one of three on my blog.
The first one is this lovely classic (my favorite!), the second is the comforting Kalya, and the third the White Chicken Salan my kids can't get enough of. Also if you are looking for a drier tomato forward dish, then this Chicken Bhuna is on regular rotation at our house!
How do I make a smooth Murghi ka Salan?
Okay folks. let's talk. The "proper" way to make a salan in my family is as follows:-
- Saute your onions until your desired colour
- Add two cups of hot water, bring to a boil and simmer for 25 minutes
- Dry up the masala and it will be mostly broken down before you even add your protein.
Am I making it the proper way here? No, I am not, but you absolutely can. I cheat a little and use an immersion blender.
Why use an Immersion Blender?
There are two issues I have with the more traditional process.
1.) it takes SO long, I haven't even put my chicken in and the salan has been cooking for over half an hour
2.) more time cooking (admittedly hands off time) means more time for my house to become thoroughly infused with Eau de Salan.
In the interest of avoiding both those things I use an immersion blender like this one. You can use a regular blender if you wish, but then let your salan base cool before blending it.
Mastering a Chicken Curry
Here are some must know tips.
- make sure your oil is hot but not smoking when you start cooking, your spices should sizzle not burn
- onion colour is everything - go for gold here!


- sauté systematically - GG first and then the rest of it otherwise the raw smell of ginger and garlic becomes tough to shake.


- saute the chicken VERY well - this helps build flavor!


- ALWAYS make it your own! taste, adjust, tweak, this is where your tastebuds take over!
Salan and Oil
Okay folks, let's level here. You cannot, I repeat, cannot, make a classic Murghi or Chicken ka Salan as it's intended to taste without what the oil does for the masala.
Do you need to eat all the oil? Of course not. Simply skim it off the top or use a paper towel to gently blot excess.
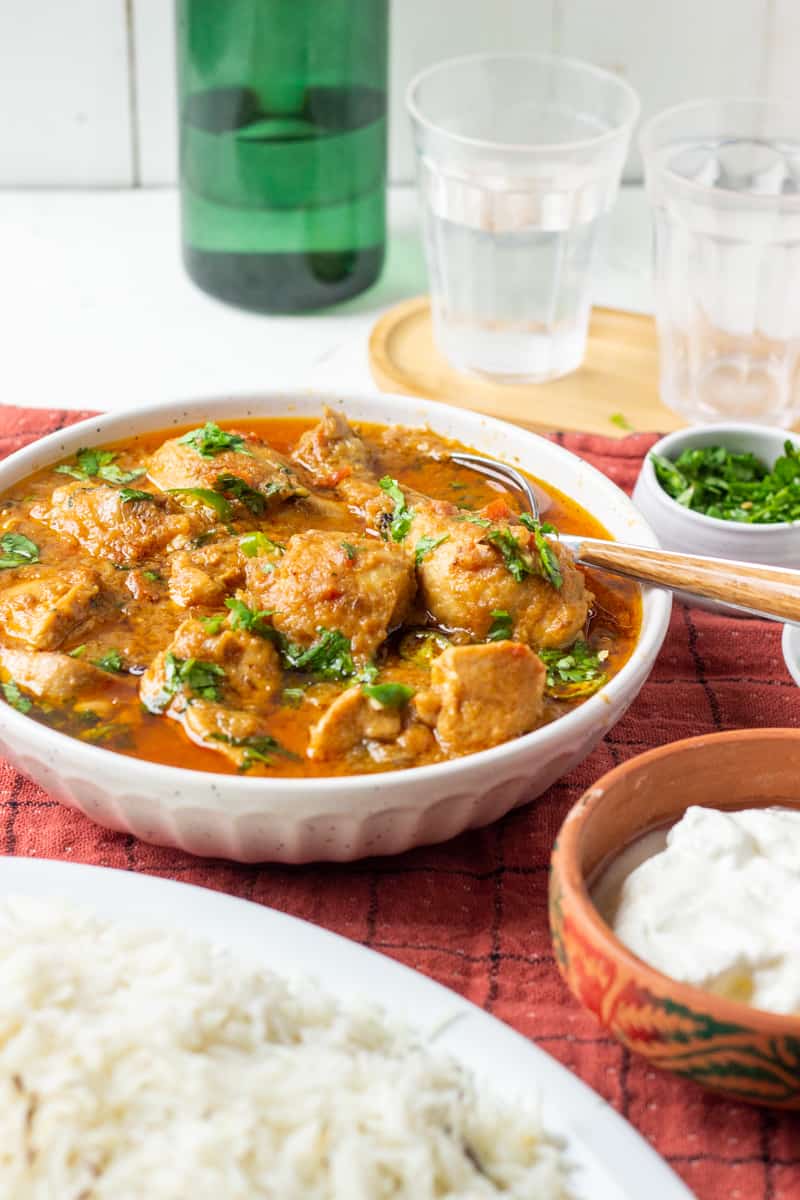
Made this Pakistani Chicken Curry? Rate it below and leave a comment! I'd also love to see your recreations over on Instagram so tag me @flourandspiceblog. Happy Cooking!
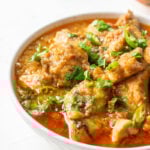
Homestyle Chicken Salan (Chicken Curry)
Equipment
- large deep pot for cooking
Ingredients
- 1.5-2 lb bone in chicken (or 1.5 lb boneless)
- ⅓ cup oil
- 1 small piece cinnamon stick
- ½ tsp cumin seeds
- 5-6 whole black peppers
- 2-3 laung (cloves)
- 3 diced onions approx 350g
- 2 diced tomatoes between 210-220g
- 1.5 tsp garlic paste
- 1 tsp ginger paste
- 1 ¼ tsp salt
- ¾ tsp red chili powder
- ½ tsp kashmiri laal mirch (optional, but gives great colour and a mild spice)
- 1 ½ tsp coriander powder
- ¼ tsp turmeric powder
Finishing touches
- ½ tsp garam masala
- ½ tsp cumin powder
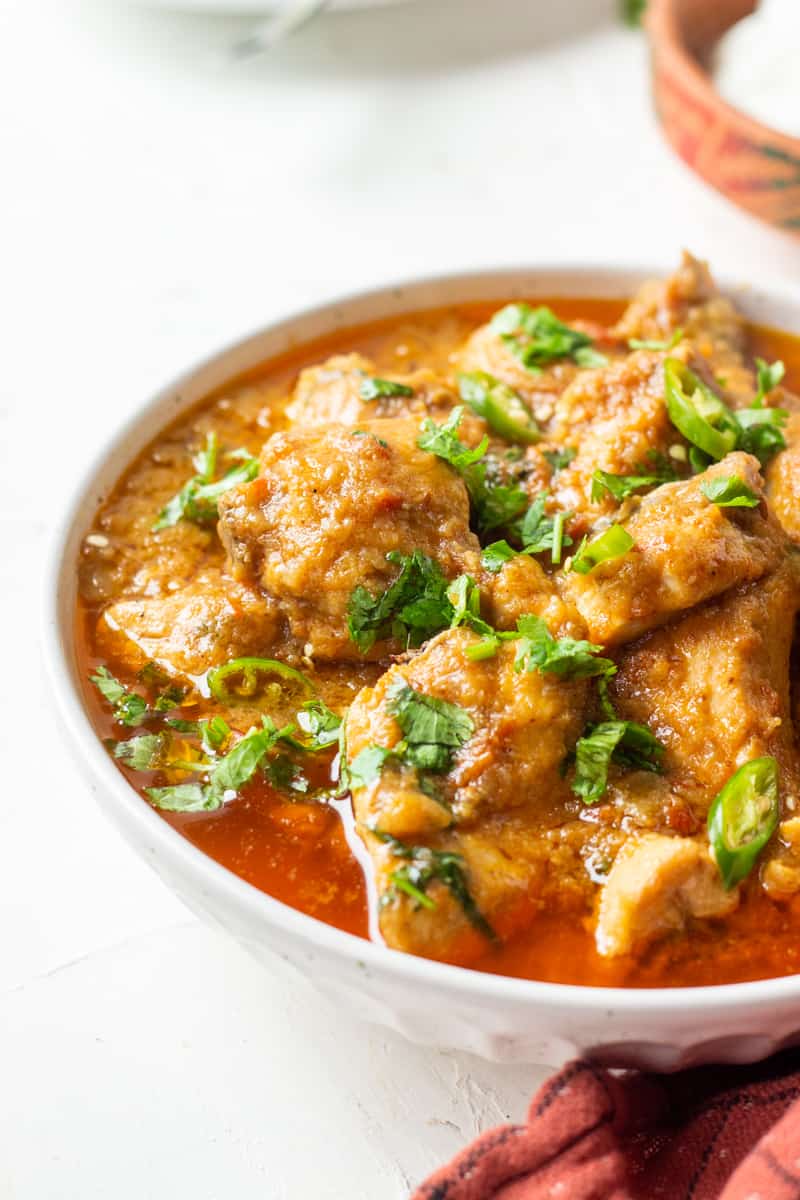
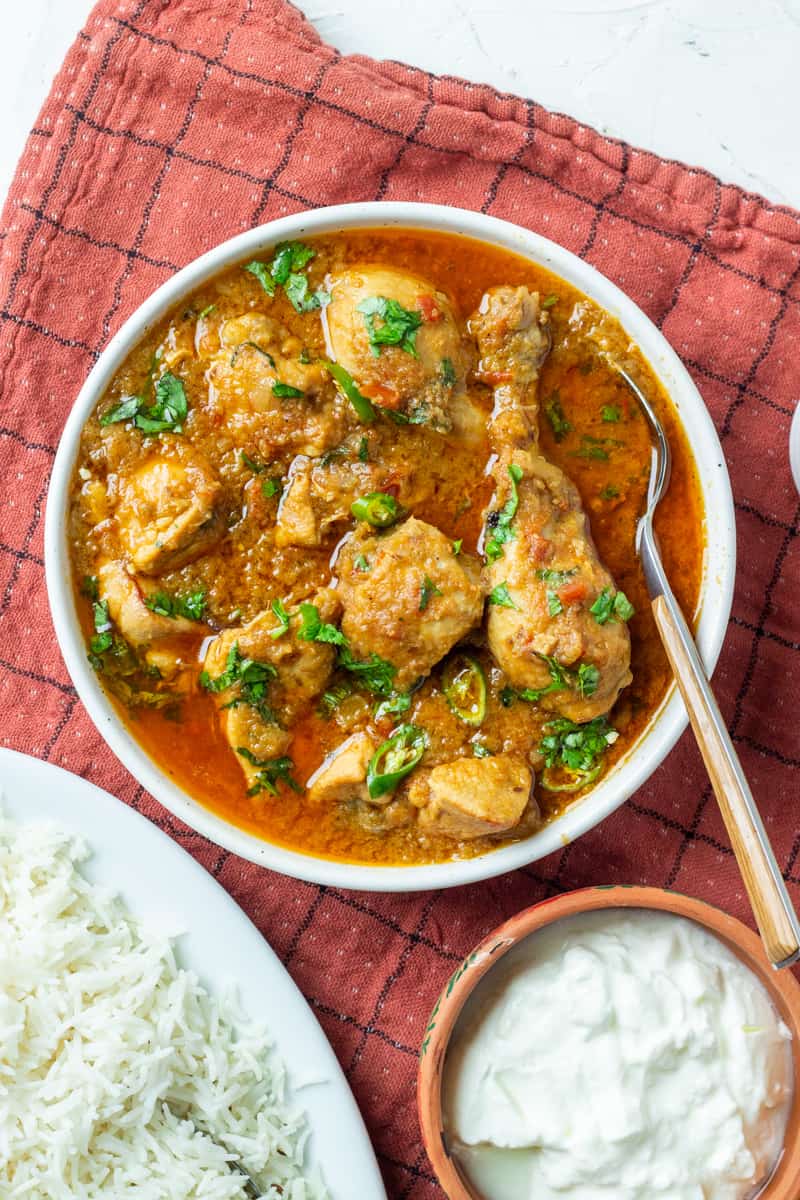
- chopped cilantro
- 2-3 sliced green chilies
Instructions
- Heat your oil in a large pot on medium high heat
- When it shimmers then add the whole spices i.e cinnamon, cumin seeds, cloves, and whole black peppers.
- After the cumin seeds start to sizzle and smell delicious then add the onions
- When the edges of the onion turn golden then add the garlic paste and ginger paste and sauté for 30 seconds.
- Now stir in your tomatoes and spices. Cover the pot and turn the heat down a little to medium heat for 2-3 minutes - this speeds up the process of cooking the masala.
- Turn the heat back up, remove the lid and sauté the spice mix until the oil rises above the top.
- Use an immersion blender to make the salan into a mostly smooth paste, you will need to tilt the pot to make this happen.
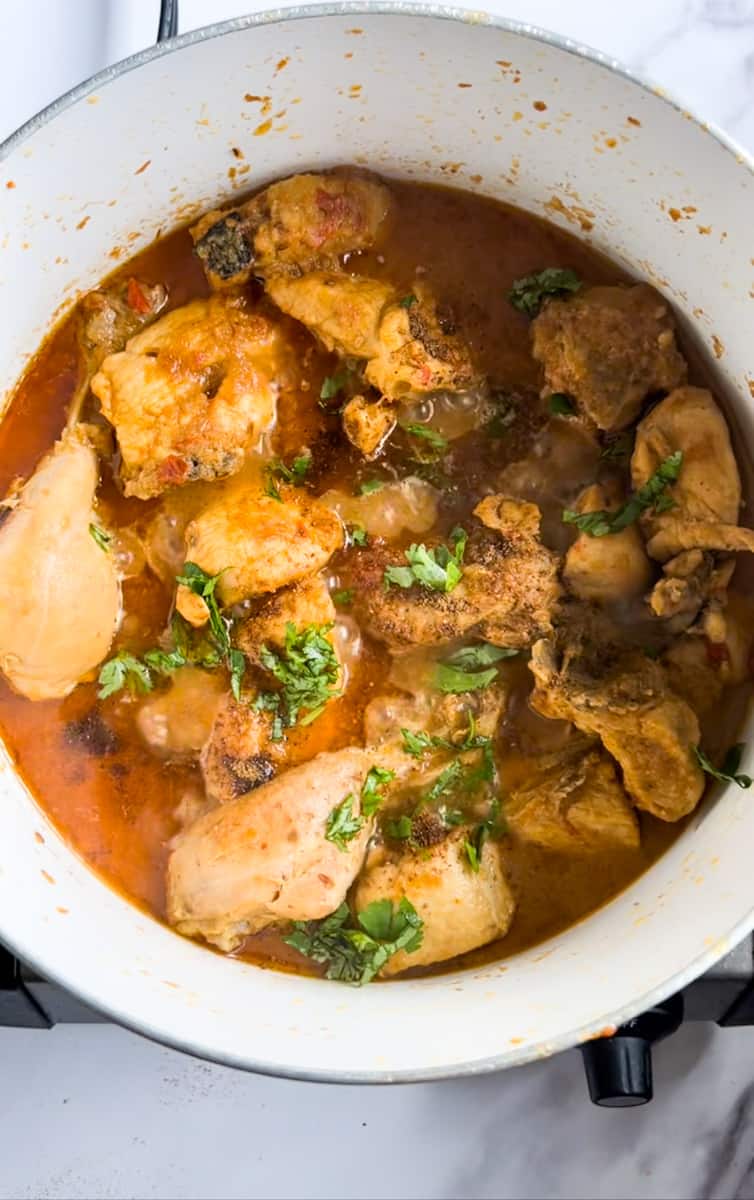
- Add your chicken pieces to your pot stirring periodically until all of the chicken turns white/opaque
- Now add ½ cup of water to your pot if the masala seems very bring to a boil and simmer on low until the chicken is cooked through, 15-20 minutes.
- Adjust the consistency of the salan to your liking, add the garam masala powder and cumin powder, then adjust seasoning.
- Garnish with cilantro and green chilies and serve.
Aynur says
Another family favourite, this salan is simmering on my stove and we are all looking forward to dinner tonight!
Thank you, Sarah, for sharing these detailed and delicious recipes.
Sarah Mir says
How lovely to hear!!! Thank you Aynur!!!
SH says
Hi, I promise this is the last question I have regarding tomatoes and onions. Can you tell me how many in grams of each after trimming?
Sarah Mir says
haha keep them coming - I generally use the same onions and tomatoes fairly consistently so Roma are 60-90g and 140g-150g yellow onion (before trimming)
Eisha says
Tried it and absolutely loved it!!
You are so good with your techniques and enhancing simple flavours.
The only changes i made were, I add 3 spoons yogurt and right at the end, I added black pepper.
It came our perfect.
I have been following your recipes for a while now and they never fail me. Thank you for this, you are a life saver
Sarah Mir says
Eisha! I am SO SO happy you enjoyed it, and I love that little pepper at the end so so much!!! Appreciate you taking the time to leave a review!
Torunn says
The receipt mentions tomatoes twice, 350g and 210-220..? Will be making this on Saturday 😋
Sarah Mir says
Hi there! One is onions and one is tomatoes! Hope that helps!
Sana says
Question- If you're frying the cumin seeds in the oil first and then adding the onions and continuing to fry them- will they not burn? I find that cumin seeds typically brown very quickly and can burn if you fry them in oil too long.
Sarah Mir says
Hi Sana! Cumin seeds are incredibly hardy, you would actually have to have the oil on high heat (think smoking hot) to burn them which would also burn your onions at the edges. When you add the onions into the oil the temperature drops and the steady browning process doesn't bring the seeds to burning temperatures. Hope that makes sense!
Sonia Hussain says
Thank you so much for mentioning the grams of onions you used in your recipe. Can you please also, specify the grams of tomatoes as well?
Sarah Mir says
Appreciate your polite flagging of this! I put it in but I use roma tomatoes which are roughly 100g before trimming!